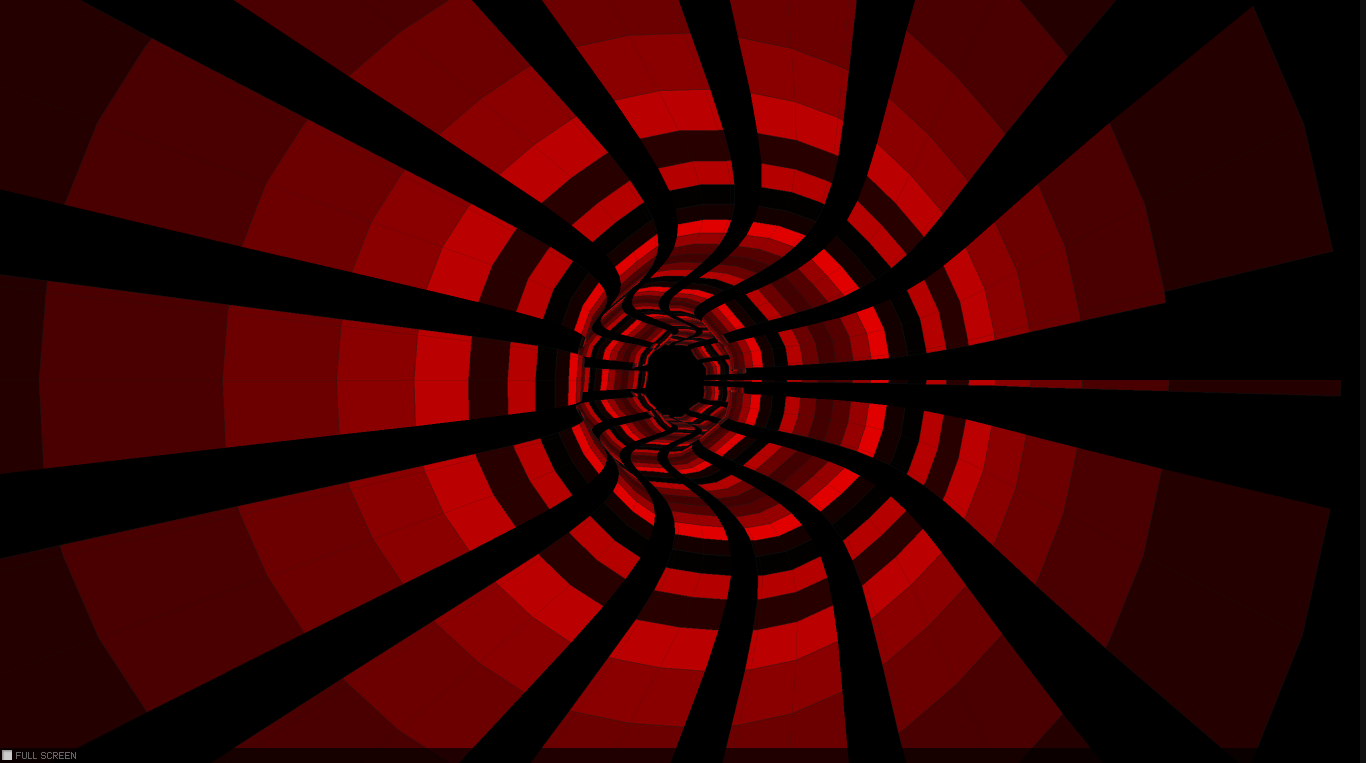
In this post i will present an experiment which i did a few months earlier, but because lately i was pretty occupied with various job related activities and with setting up this new blog (transferring the old content to the new host – plus a lot of other stuff), i have no time to publish this new experiment. More about below, but until then a few words about the background, inspiration and some of the key challenge i have faced during this process.

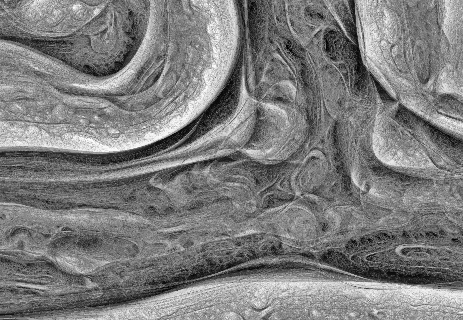
This is an experiment inspired by a thoroughly explained article about the concept behind what is generally known as Turing Pattern. The Turing Patterns has become a key attraction in fact thanks to Jonathan McCabe popular paper Cyclic Symmetric Mutli-Scale Turing Patterns in which he explains the process behind the image generation algorithm like that one below, about what Frederik Vanhoutte know as W:blut wrote on his post:
If you’ve seen any reality zoo/wild-life program you’ll recognize this. Five minutes into the show you’re confronted with a wounded, magnificent animal, held in captivity so its caretakers can nurture and feed it. And inevitably, after three commercial breaks, they release it, teary-eyed, back into the wild. It’s a pivotal moment that turns their leopard into anyone’s/no one’s leopard.
That’s the feeling which emanates when you first see the organic like, somehow obscure (some may go even further and say: macabre or creepy) thing which is known as a Turing pattern. At first moment when you are confronted with it, some kind of emotion (be that fear or amazement or just a sight) is resurfaced. Definitely won’t let you neutral.
This is the emotion which pushed me to try to implement it in Actionscript. (In parentheses be said this is not the best platform for computation intensive experiments.) Felix Woitzel did an amazing remake adaptation of the original pattern in WebGL. The performance with a good GPU is quite impressive. Maybe in the future i will try to port in WebGL. Anyway, there is another nice article by Jason Rampe, where he explains the algorithm of the Turing Pattern.
So let’s face directly and dissect the core components of the algorithm.
The basic concept
The process is based on a series of different “turing” scales. Each scale has different values for activator, inhibitor, radius, amount and levels. We use a two dimensional grid which will be the basic container for activator, inhibitor and variations, all of them going to be of typed arrays (in our case Vectors.<>). At the first phase we will initialize the grid with random points between -1 and 1. In the next step we have to determine the shape of the pattern. For this case w’ll use a formula defined by the following method:
for (var i:int = 0; i < levels; i++)
{
	var radius:int = int(Math.pow(base, i));
	_radii[i] = radius;
	_stepSizes[i] = Math.log(radius) * stepScale + stepOffset;
}
During each step of simulation we have to execute the following methods:
- Populate the grid with pixels at random locations. I’m gonna use a linked list to store the pixels properties: positions and colors. We will loop through all the pixels, the number of pixels will be defined by the grid with
xheight dimension. - Average each grid cell location over a circular radius specified by
activator, then store the results in the activator array, multiplied by the weight. - Average each grid cell location over a circular radius specified by
inhibitor, then store the results in the activator array, multiplied by the weight. - In the next step we need to calculate the absolute difference between the activator and inhibitor using the the following formula:
variations = variations + abs(activator[x,y] - inhibitor[x,y])
Once we have all the activator, inhibitor and variations values calculated for each grid cells we proceed with updating the grids as follows:
- Find which grid cell has the lowest variation value
- Once we found the lowest variation value we update the grid by the following formula:
for (var l:Number = 0; l < levels - 1; l++)
{
	var radius:int = int(_radii[l]);
	fastBlur(activator, inhibitor, _blurBuffer, WIDTH, HEIGHT, radius);

	//calculates the absolute difference between activator and inhibitor

	for (var i:int = 0; i < n; i++)
	{
		_variations[i] = activator[i] - inhibitor[i];
		if (_variations[i] < 0)
		{
			_variations[i] = -_variations[i];
		}
	}

	//if first level then set some initial values for bestLevel and bestVariation
	if (l == 0)
	{
		for (i = 0; i < n; i++)
		{
			_bestVariation[i] = _variations[i];
			_bestLevel[i] = l;
			_directions[i] = activator[i] > inhibitor[i];
		}
		activator = _diffRight;
		inhibitor = _diffLeft;
	}
	else
	{
		for (i = 0; i < n; i++)
		{
			if (_variations[i] < _bestVariation[i])
			{
				_bestVariation[i] = _variations[i];
				_bestLevel[i] = l;
				_directions[i] = activator[i] > inhibitor[i];

			}
		}
		var swap:Vector. = activator;
		activator = inhibitor;
		inhibitor = swap;
	}
}
As a last step we should average the gap between the levels by performing a blur technique for a nicer transition. We blur the image sequentially in two steps: first we blur the image vertically then horizontally.
The challenge
The most challenging part was related to the unknown factor about how well gonna handle the AVM2 the intensive CPU calculation. Well as you may have guessed not too well, especially with very large bitmap dimension and a lot of pixels needed to be manipulated, plus the extra performance loss “gained” after the bluring operation.
For some kind of compensation benefits (in terms of performance) i decided to populate the BitmapData with a chained loop using single linked list, plus typed arrays as generally known the Vector.<> arrays are much faster compared to the traditional array stacks. After a not too impressive performance, i wondered how can i even more optimize the code for a better overcome. I decided to give it a try to Alchemy, and Joa Ebert’s TDSI, a Java based Actionscript compiler, as by that time was commonly known a better choice over AVM. Unfortunately i didn’t get too many support and helpful articles about the implementation and as a consequence my attempt was a failure, which resulted in a quite buggy and ugly output. After too many attempts without the wishful result, i gave up.
That’s all in big steps. You can grab the source code from here. Feel free to post your remarks.
ps: Be prepared this experiment will burn your CPU. 🙂